
How to take great photos on your phone at your next destination
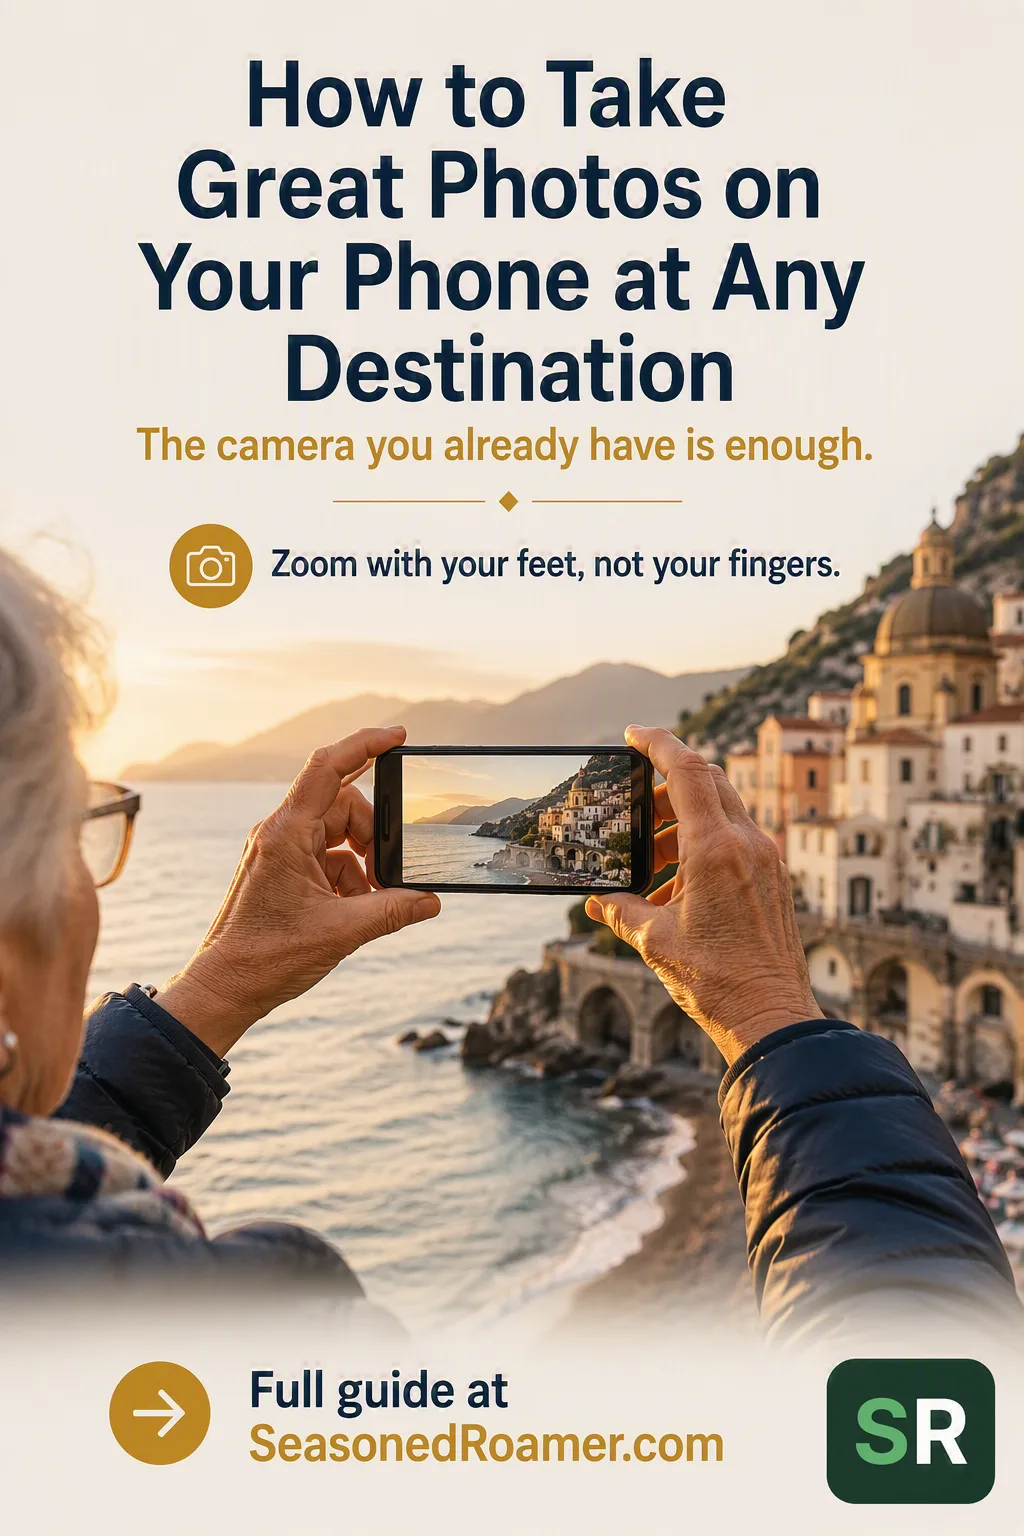
Why your phone is enough for great travel photos
Here is how to take great photos on your phone without buying a new camera. The phone in your pocket already has a sharp lens, smart focusing, and modes built for tricky light. What you are usually missing is not equipment. It is a handful of habits, each one taking seconds to learn, that pay off on every trip from here on.
Clean the lens. Tell the phone where to focus. Get physically closer instead of zooming in. Hold still a beat longer in low light. That is most of it.
Get the basics right before you shoot
Clean the lens first
A smudge from a pocket or a fingerprint is one of the most common reasons a photo looks hazy or slightly blurred. Before you travel, wipe your phone’s camera lens with a soft, slightly damp, lint-free cloth. Avoid cleaning sprays, household cleaners, and compressed air. They can wear down the lens coating over time.
Hold the phone with both hands
Grip the phone with both hands and tuck your elbows in against your body. This steadies the shot far more than holding the phone out at arm’s length with one hand.
Brace when you can
When light is dim, lean against a wall, rest your arms on a railing, or set the phone down on a table. Every phone camera does its best work when it can stay still for a moment longer than usual.
Turn on the grid line for straighter phone photos
A grid overlay divides your screen into a 3-by-3 pattern. It helps you keep a horizon level and place your subject off-centre, a simple technique called the rule of thirds that makes a photo feel more balanced.
- iPhone: open Settings, tap Camera, then turn on Grid and Level.
- Google Pixel: open the Camera app, tap Settings, then More Settings, then Grid type, and choose a style.
- Samsung Galaxy: open the Camera app, tap the Settings icon, then turn on Grid lines. On newer software this option may be called Composition guide instead.
Menu wording changes as phone makers update their software, so treat the steps above as a starting point rather than a fixed set of taps. Whatever phone you carry, the option is somewhere in your Camera app’s own settings, usually called Grid or Composition Guide.
Tell your phone what to focus on
Your phone usually chooses a focus point on its own, but you get a sharper, better-exposed photo when you tell it exactly where to look.
Tap the screen where you want the photo to focus. On iPhone and Google Pixel, this also lets you adjust how bright or dark the photo looks. Drag near the focus point to lighten or darken the shot.
To lock the focus and exposure for a series of photos of the same subject, touch and hold the focus point on iPhone until AE/AF Lock appears, or tap and hold on a Pixel. This is especially useful for a moving subject, such as a boat pulling into harbour or a grandchild running across a beach. Lock the focus once, then take several shots without the phone re-guessing each time.
Zoom with your feet, not your fingers
Most phones can switch between two or more built-in lenses. Tapping a marked zoom number, such as 1x or a telephoto option, uses one of these lenses directly and keeps the photo sharp.
Zooming in further than your phone’s built-in lenses go is digital zoom. Your phone enlarges part of the image using software rather than a lens, and the photo gets noticeably softer and grainier the further you push it.
Where you can, walk closer to your subject instead of zooming in on the screen. Treat the numbered zoom options as a rough guide, not a promise of quality at every level.
Let your phone handle tricky light
A scene with both bright sky and shaded ground, a common travel sight, can confuse an older camera. Current phones handle this mostly on their own.
On iPhone, HDR (High Dynamic Range) turns on automatically when the phone judges it will help balance a bright and dark scene. Current iPhone models do not have a manual on/off switch for this in Camera settings. It runs in the background without any input from you.
In low light, such as an evening market or a dim restaurant, many phones switch to a dedicated low-light mode. On iPhone this is called Night mode, shown by an icon at the top of the screen. On Google Pixel it is called Night Sight.
The one thing that matters most in low light is holding still. Both Apple’s and Google’s own instructions say the same thing: tap the shutter, then hold the phone steady, ideally braced against something solid, for a few seconds while it captures the shot.
On a clear, dark night, the same features can also capture the stars. See how to photograph the night sky on your phone.
Take more photos on your phone than you think you need
A phone camera does not cost you film. Take three or four photos of the same scene rather than one. A person’s eyes close for a fraction of a second more often than you would expect, and a slightly different angle can turn an ordinary photo into a good one.
Look through your shots later, once, and delete the ones that did not work. You only need to keep the best.
A few travel-specific framing ideas
Landscapes
Place the horizon along the top or bottom line of your grid rather than through the middle of the photo. A flat, centred horizon often looks less interesting than one with more sky or more foreground.
People and places together
Rather than a straight-on photo of a building or view, ask a travel companion to stand a little to one side of the frame. It gives the photo scale and turns a postcard shot into a memory of the trip itself.
Portrait mode for people
Most phones, including iPhone, Pixel, and Samsung, have a Portrait mode that softly blurs the background behind a person. It works well for a relaxed photo of a companion at a café table or a viewpoint, though each phone brand processes the effect a little differently.
Common problems with phone photos and quick fixes
Phone photos come out blurry
Check your grip first. Hold the phone with both hands and keep your elbows close to your body.
Check whether you zoomed in past your phone’s built-in lens. Step closer instead and try again.
Phone photos look hazy or have a soft glow
This is almost always a dirty lens. Wipe it with a soft, slightly damp, lint-free cloth before your next shot.
Your phone will not focus in low light
Tap directly on an area with some contrast, such as a light or a doorway, rather than a flat, dark wall. If the scene is too dark for the phone to find a focus point at all, switch on your phone’s Night mode or Night Sight and let it handle the exposure automatically.
Two related articles worth reading. See the best beginner camera for a cruise, and how to use it in five minutes, and how to create a photo book from your trip as a lasting memory.
Before your next trip
An educational small-group tour is a good place to put these habits into practice. See what to expect on a Road Scholar trip and whether it is worth the price.
If you are heading on safari specifically, the distances involved change what works. See how to photograph wildlife and safari animals on a phone or basic camera.
- Clean your phone’s camera lens with a soft, slightly damp cloth.
- Turn on the grid line in your Camera app’s settings.
- Practise tapping to focus and locking the focus and exposure before you travel, not for the first time on the day.
- Remind yourself: zoom with your feet first, your fingers second.
- In low light, brace the phone against something solid and hold still for a few seconds longer than feels natural.
For more ways to take and keep better travel photos, see our travel photography guides.